Menubar


Blogs
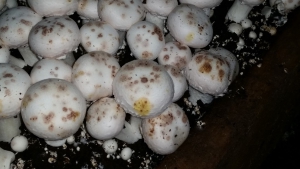
Casing Management and Mushroom Size and Quality
May 11,
2026
As most growers know, our mushroom is a slow-growing and very sensitive organism. It is very susceptible to changes to its environment, growing substrate, or…
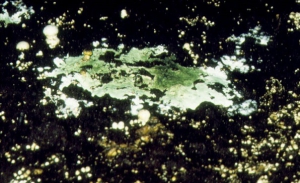
Trichoderma Green Mold
Mar 05,
2026
Causal Organism Several strains of Trichoderma spp. have been associated with the commercial production of A. bisporus. Some are found as a weed or indicator…

Can ChatGPT grow mushrooms or make compost?
Jan 22,
2026
As a mushroom and compost consultant, I receive more questions from clients who have already searched for answers using ChatGPT. Often, they are not looking…

Possible mechanisms involved in the fruiting of the cultivated mushroom - by David M. Beyer
Dec 08,
2025
To induce A. bisporus fruit body formation, a casing layer is applied to the surface of the compost. Without a casing layer, few if any…
Compost-casing-mushroom water relationships
Sep 03,
2025
The function of casing is to induce fruiting, support mushroom growth, and provide a source of water to the mushroom that compensates for its water…
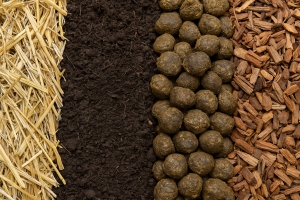
The recent shortage of straw and hay in parts of North America and Europe has sparked a flurry of questions regarding what can be used…
Virus and bacterial diseases
Apr 04,
2025
LaFrance virus disease Of all the diseases confronting mushroom growers, none have been the subject of more confusion than viral diseases. Viral diseases can be…

Fungal Diseases The life cycle for fungal pathogens like Dry Bubble, Trichoderma, and Cobweb is simple, Figure 1. Spores germinate into mycelium, which forms structures…

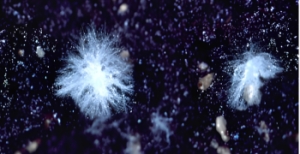
Mycelium growth in casing soil (back to basics)
Feb 27,
2025
We are observing that the amount of mycelium in the casing soil often leaves much to be desired. Ideally, thick mycelium strands should grow from…


