Menubar


Blogs
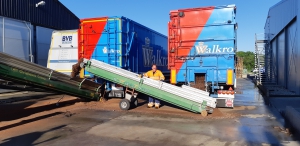
Filling and picking organisation.
Jun 14,
2021
If you look at this in a glance one might say: the filling has not that much to do with picking. But it is more…
K.I.S.S.
Apr 21,
2021
A good start for a blog just around Spring time. But the meaning is different. It just means: Keep It Super Simple. On many farms…
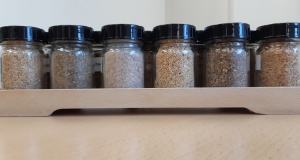
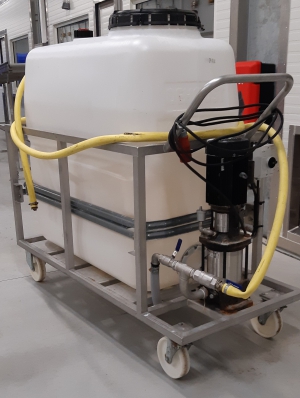
Supplement, the unknown ingredient?
Mar 06,
2021
If a consultant is visiting a farm there are always many things to discuss in detail. Shall we give more or less water and are…
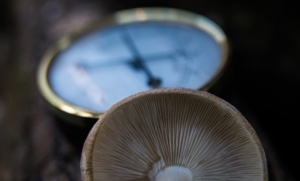
Dry bubble (Verticillium fungicola)
Feb 15,
2021
One of the most seen disease in mushroom farms is the dry bubble, caused by the fungus Verticillium fungicola. Its easy to get an infection…
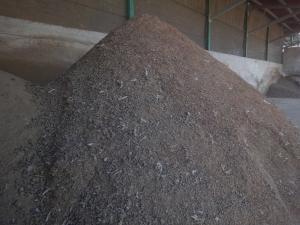
Chicken manure
Jan 26,
2021
Chicken manure is an important raw material in mushroom compost and for the composter as it is the biggest source of nitrogen. It is therefore…
Heavy casing soil, causing problems
Jan 26,
2021
The last month several growers had problems with a too heavy casing soil. It is normal for this time of the year for casing soil…
Recipe for a new year, keep the buttons up
Dec 15,
2020
Recipe for a new year, keep the buttons up! March 2020. Everything looks good and I have got my pocket full of tickets. Flights all…
And they keep flying…
Nov 09,
2020
I am writing this blog on November 2. 2020. It is the warmest November day ever. The outside temperature today will hit 20° C.…
Climate control
Oct 12,
2020
A good climate control is of course vital for every mushroom grower even more if you want to stand out with the quality of the…


