Menubar


Global Agriculture Services
Cook-out
Jan 14,
2025
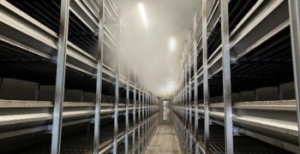
One of the most effective ways to avoid diseases in the mushroom industry is a cook-out at the end (or beginning) of each cycle. To…
Imported compost in blocks
Jun 19,
2024
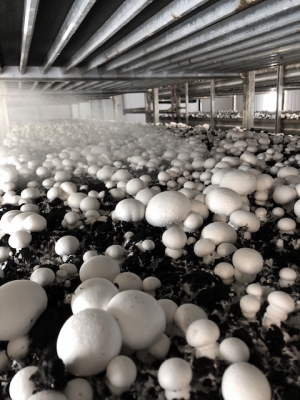
All around the world growers can receive phase 3 blocks. Especially in countries where no or just some raw materials to make compost are available,…
Dirty bunker pipes
Apr 02,
2024
Not hard to imagine that reduced air flow going into the compost is not good for the quality of the compost. To maintain high-quality compost,…
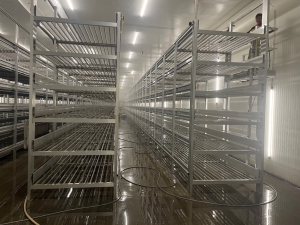
Hygiene at the end of the growing cycle
Dec 18,
2023
Lately, several farms have seen some symptoms of virus which means more focus on hygiene is necessary. Hygiene includes all measures aimed at minimizing the…
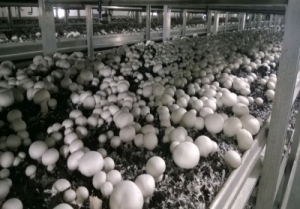
Harvesting quality
May 31,
2022
Picking mushrooms is more than just removing them from the beds. The handling and picking the right mushrooms is vital. Creating space to allow them…
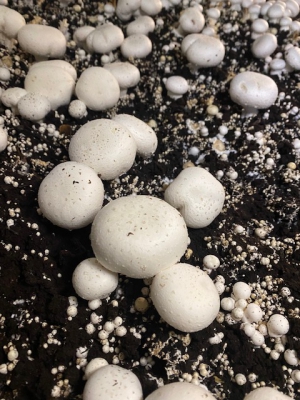
Tweeners
Dec 13,
2021
Mushrooms that grow between the 1st and 2nd break are called tweeners or in between mushrooms. They are very hard mushrooms because they had a…
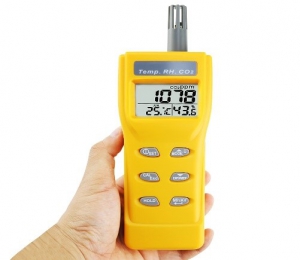
Checking the CO2 equipment
Aug 03,
2021
For optimal climate control, accurate and reliable measurements are of course very important and maintenance to the CO2 box should be standard on every farm.…
Dry mushrooms with fresh air
Jun 14,
2021
A lot of farms are afraid that water directly on mushrooms will damage the quality but I disagree with that. Of course it depends on…
Dry bubble (Verticillium fungicola)
Feb 15,
2021
One of the most seen disease in mushroom farms is the dry bubble, caused by the fungus Verticillium fungicola. Its easy to get an infection…


